“You gotta love the clay for it to love you back”
Artist Bio
I am a young potter from Minnesota, specifically the Cannon Valley area. At this moment in time I am a practicing artist, studio assistant, pottery teacher, and kiln building hand. I received my education in clay from the University of Wisconsin River Falls under Michael Helke. I am continuing to gain knowledge in the field of ceramics under Colleen Riley and Donovan Palmaquist through both of their studio practice’s.
Other than ceramics being my passion I have an incredible appreciation for nature and being outside as I make more time for it than I do pottery sometimes, but when I’m not in the wilderness or in the studio I’m in the weight room moving some iron and establishing my discipline. I also enjoy a fair amount of longboarding as it creates a parallel of thought for me. It’s also a great way to get some cardio in too.

Artist Statement
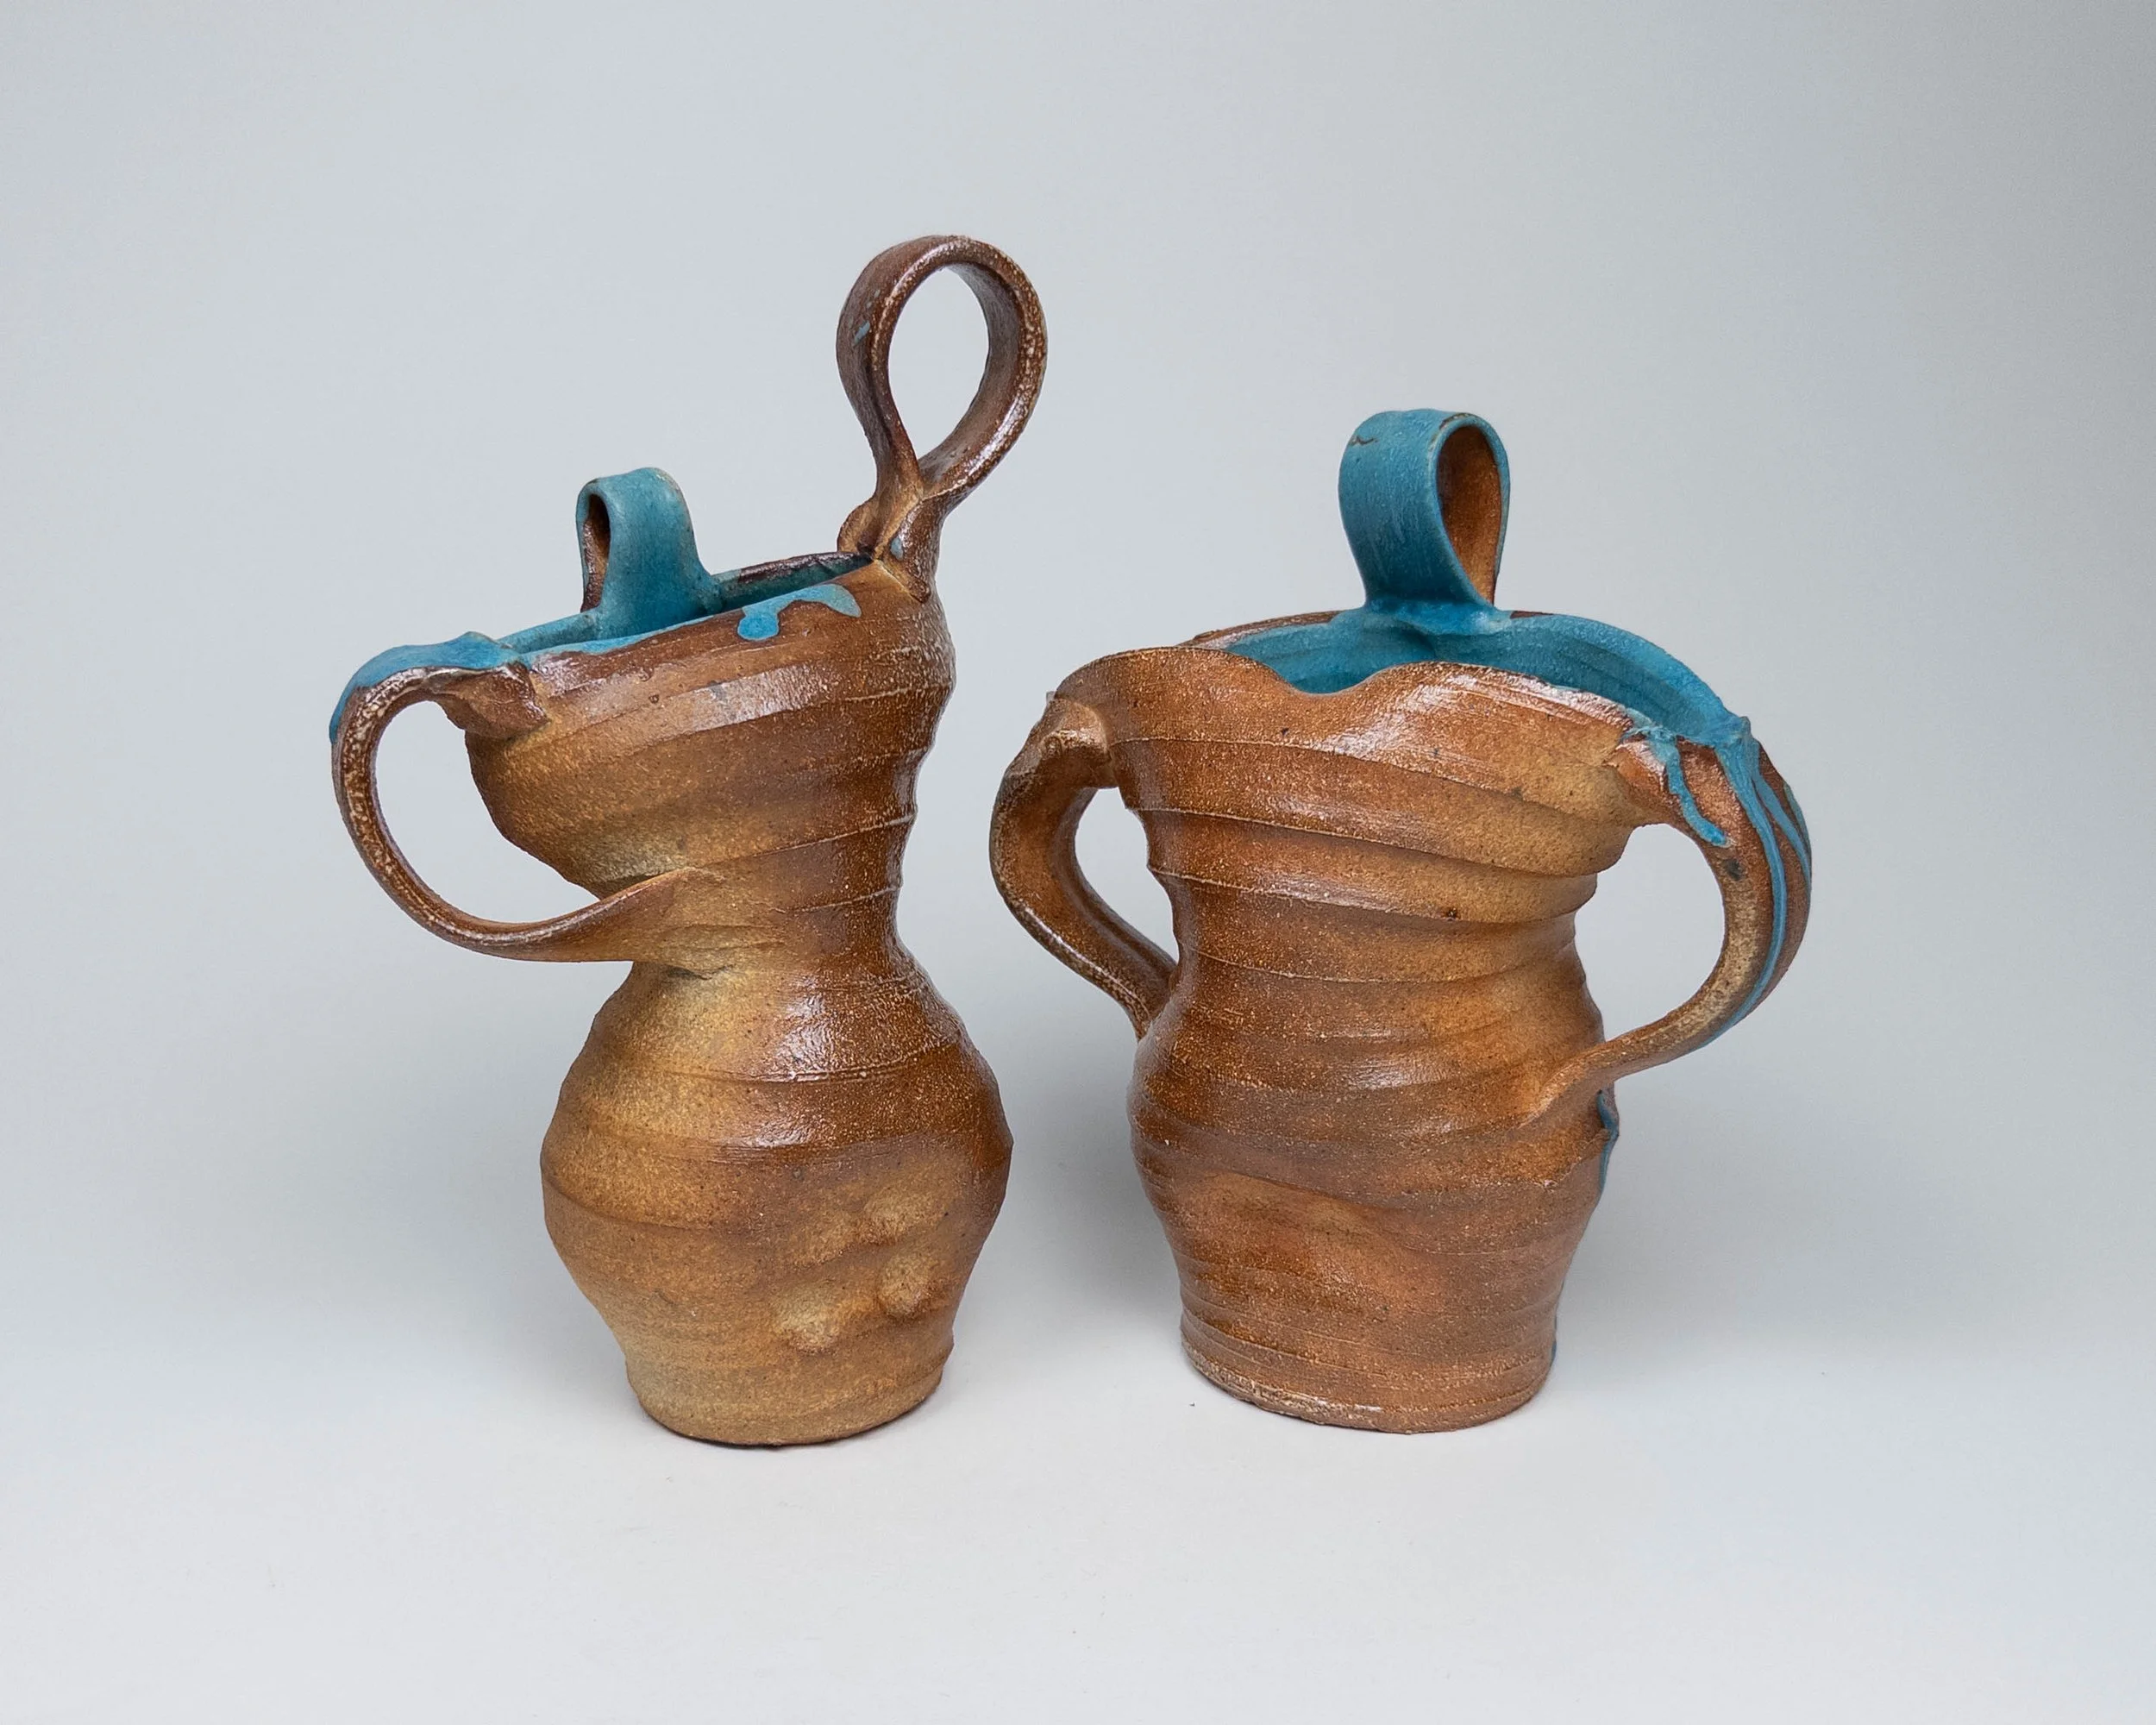
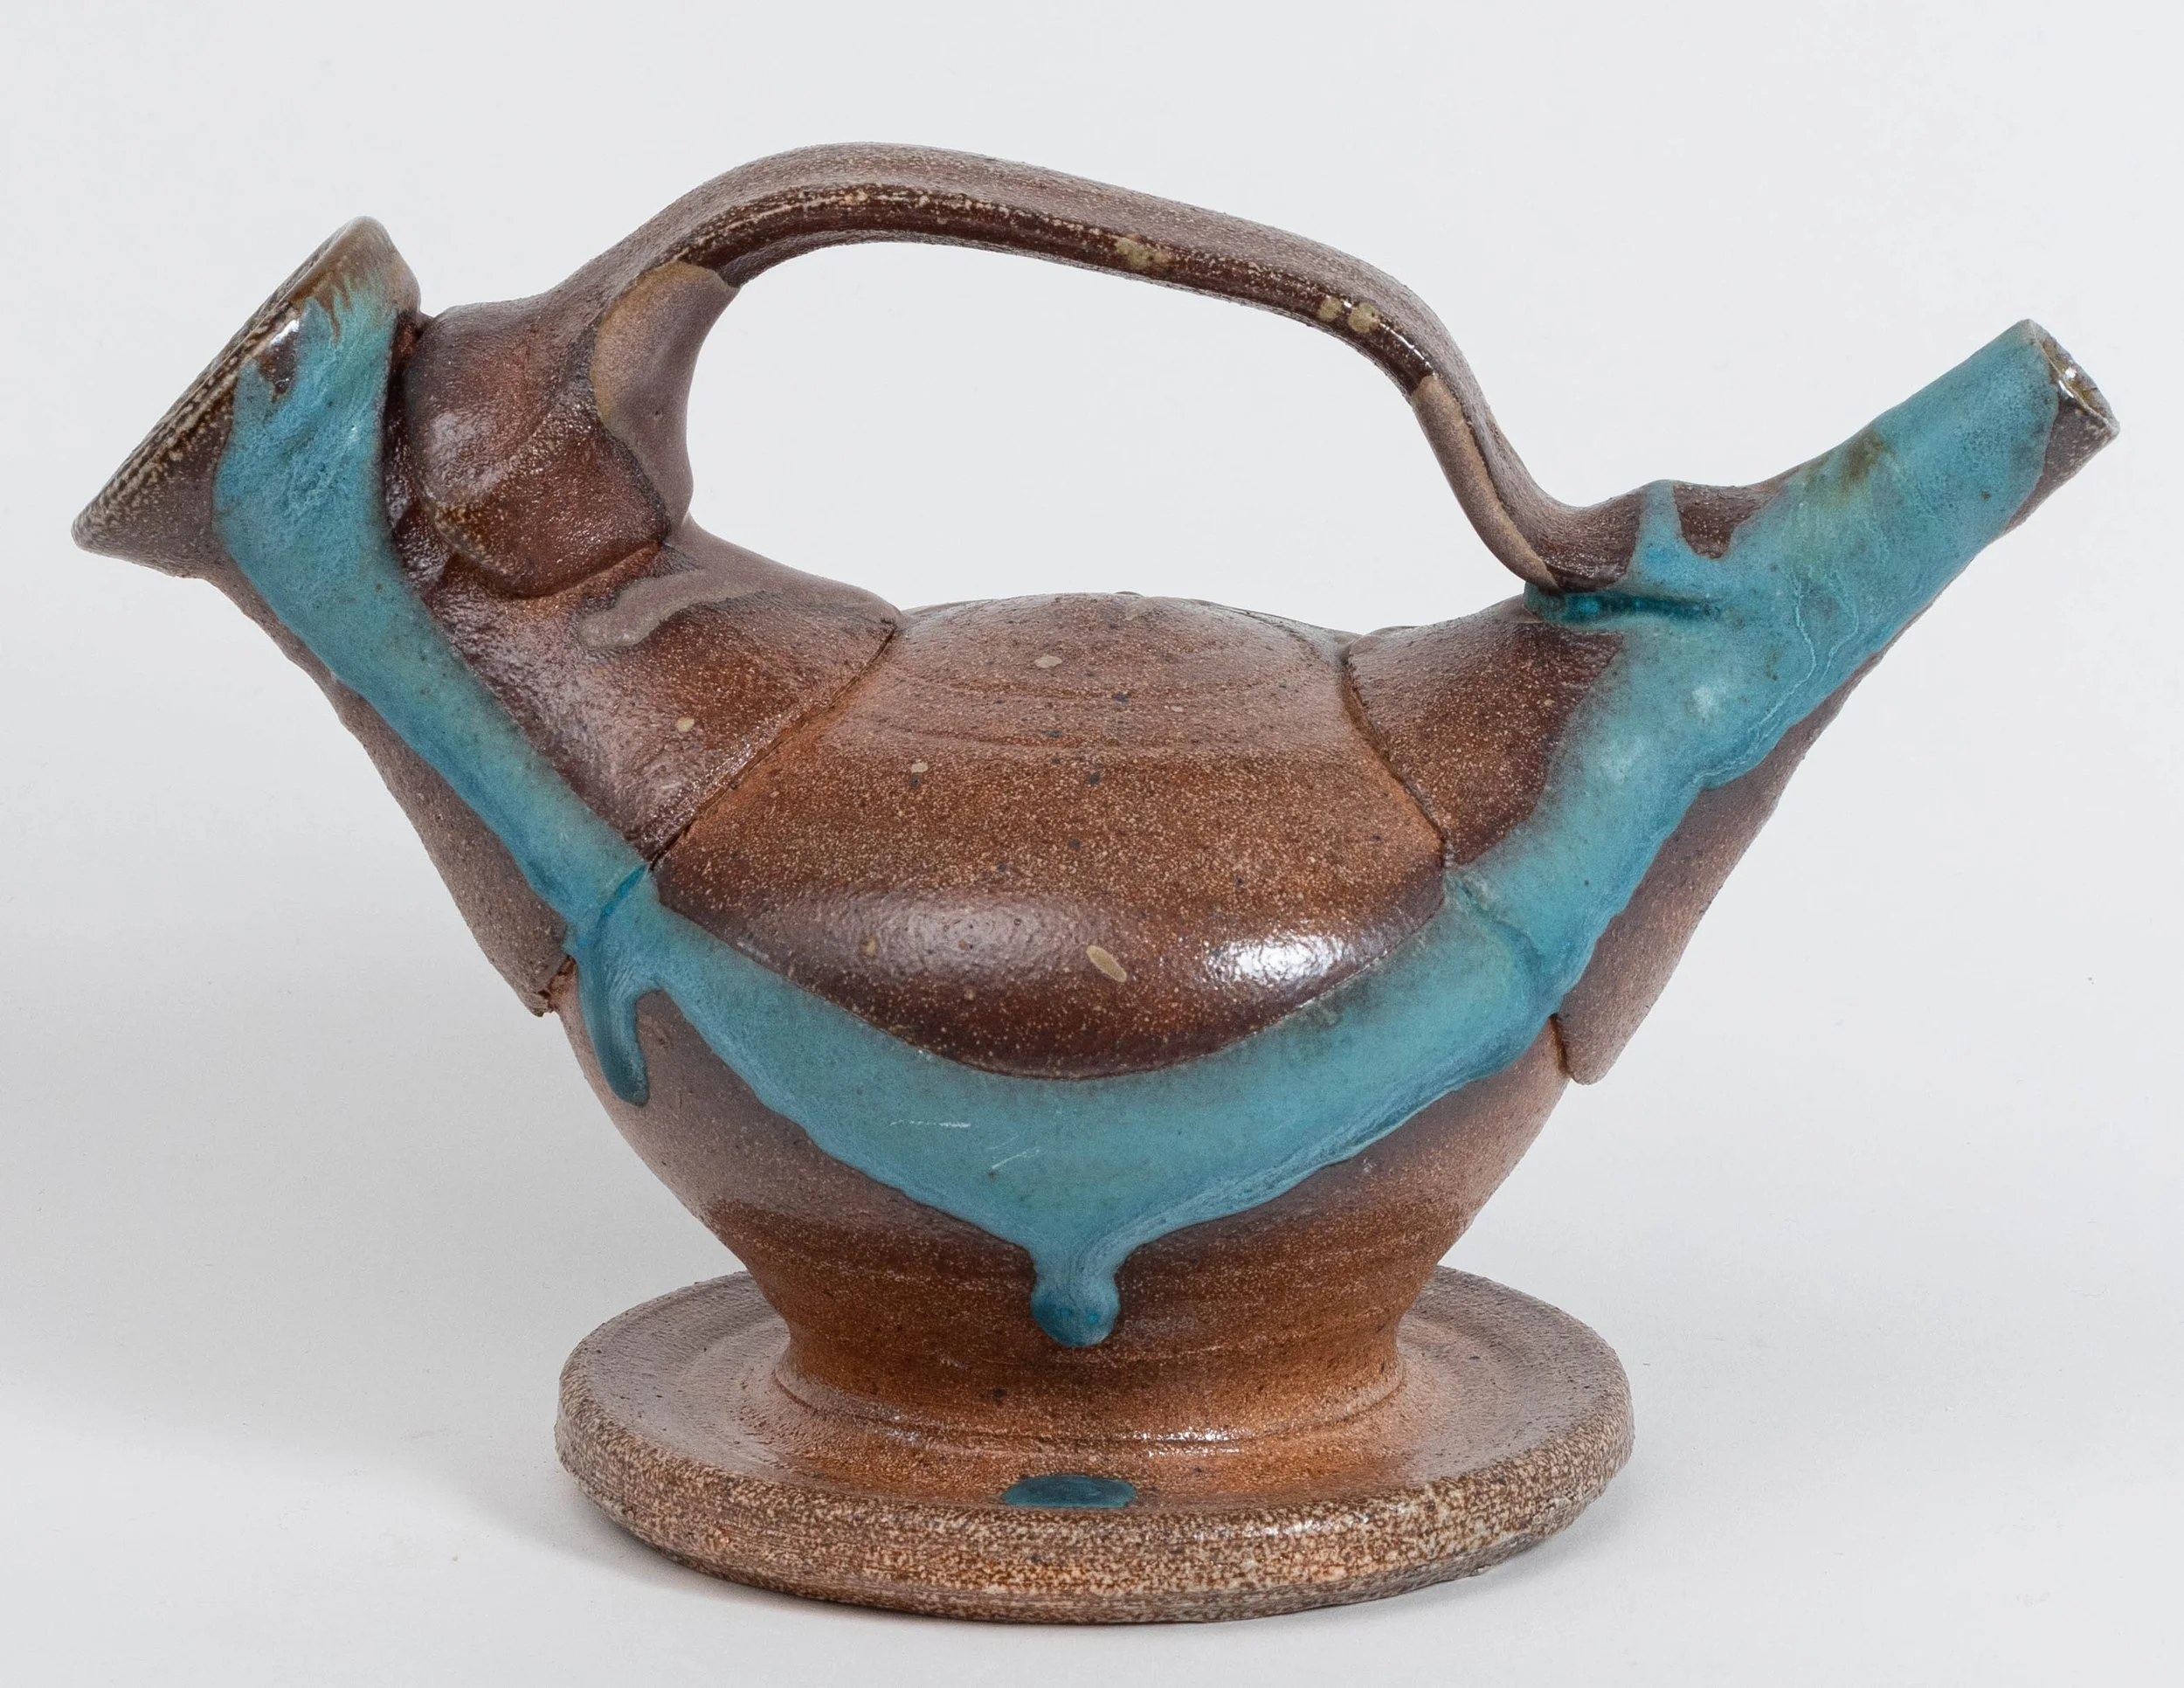
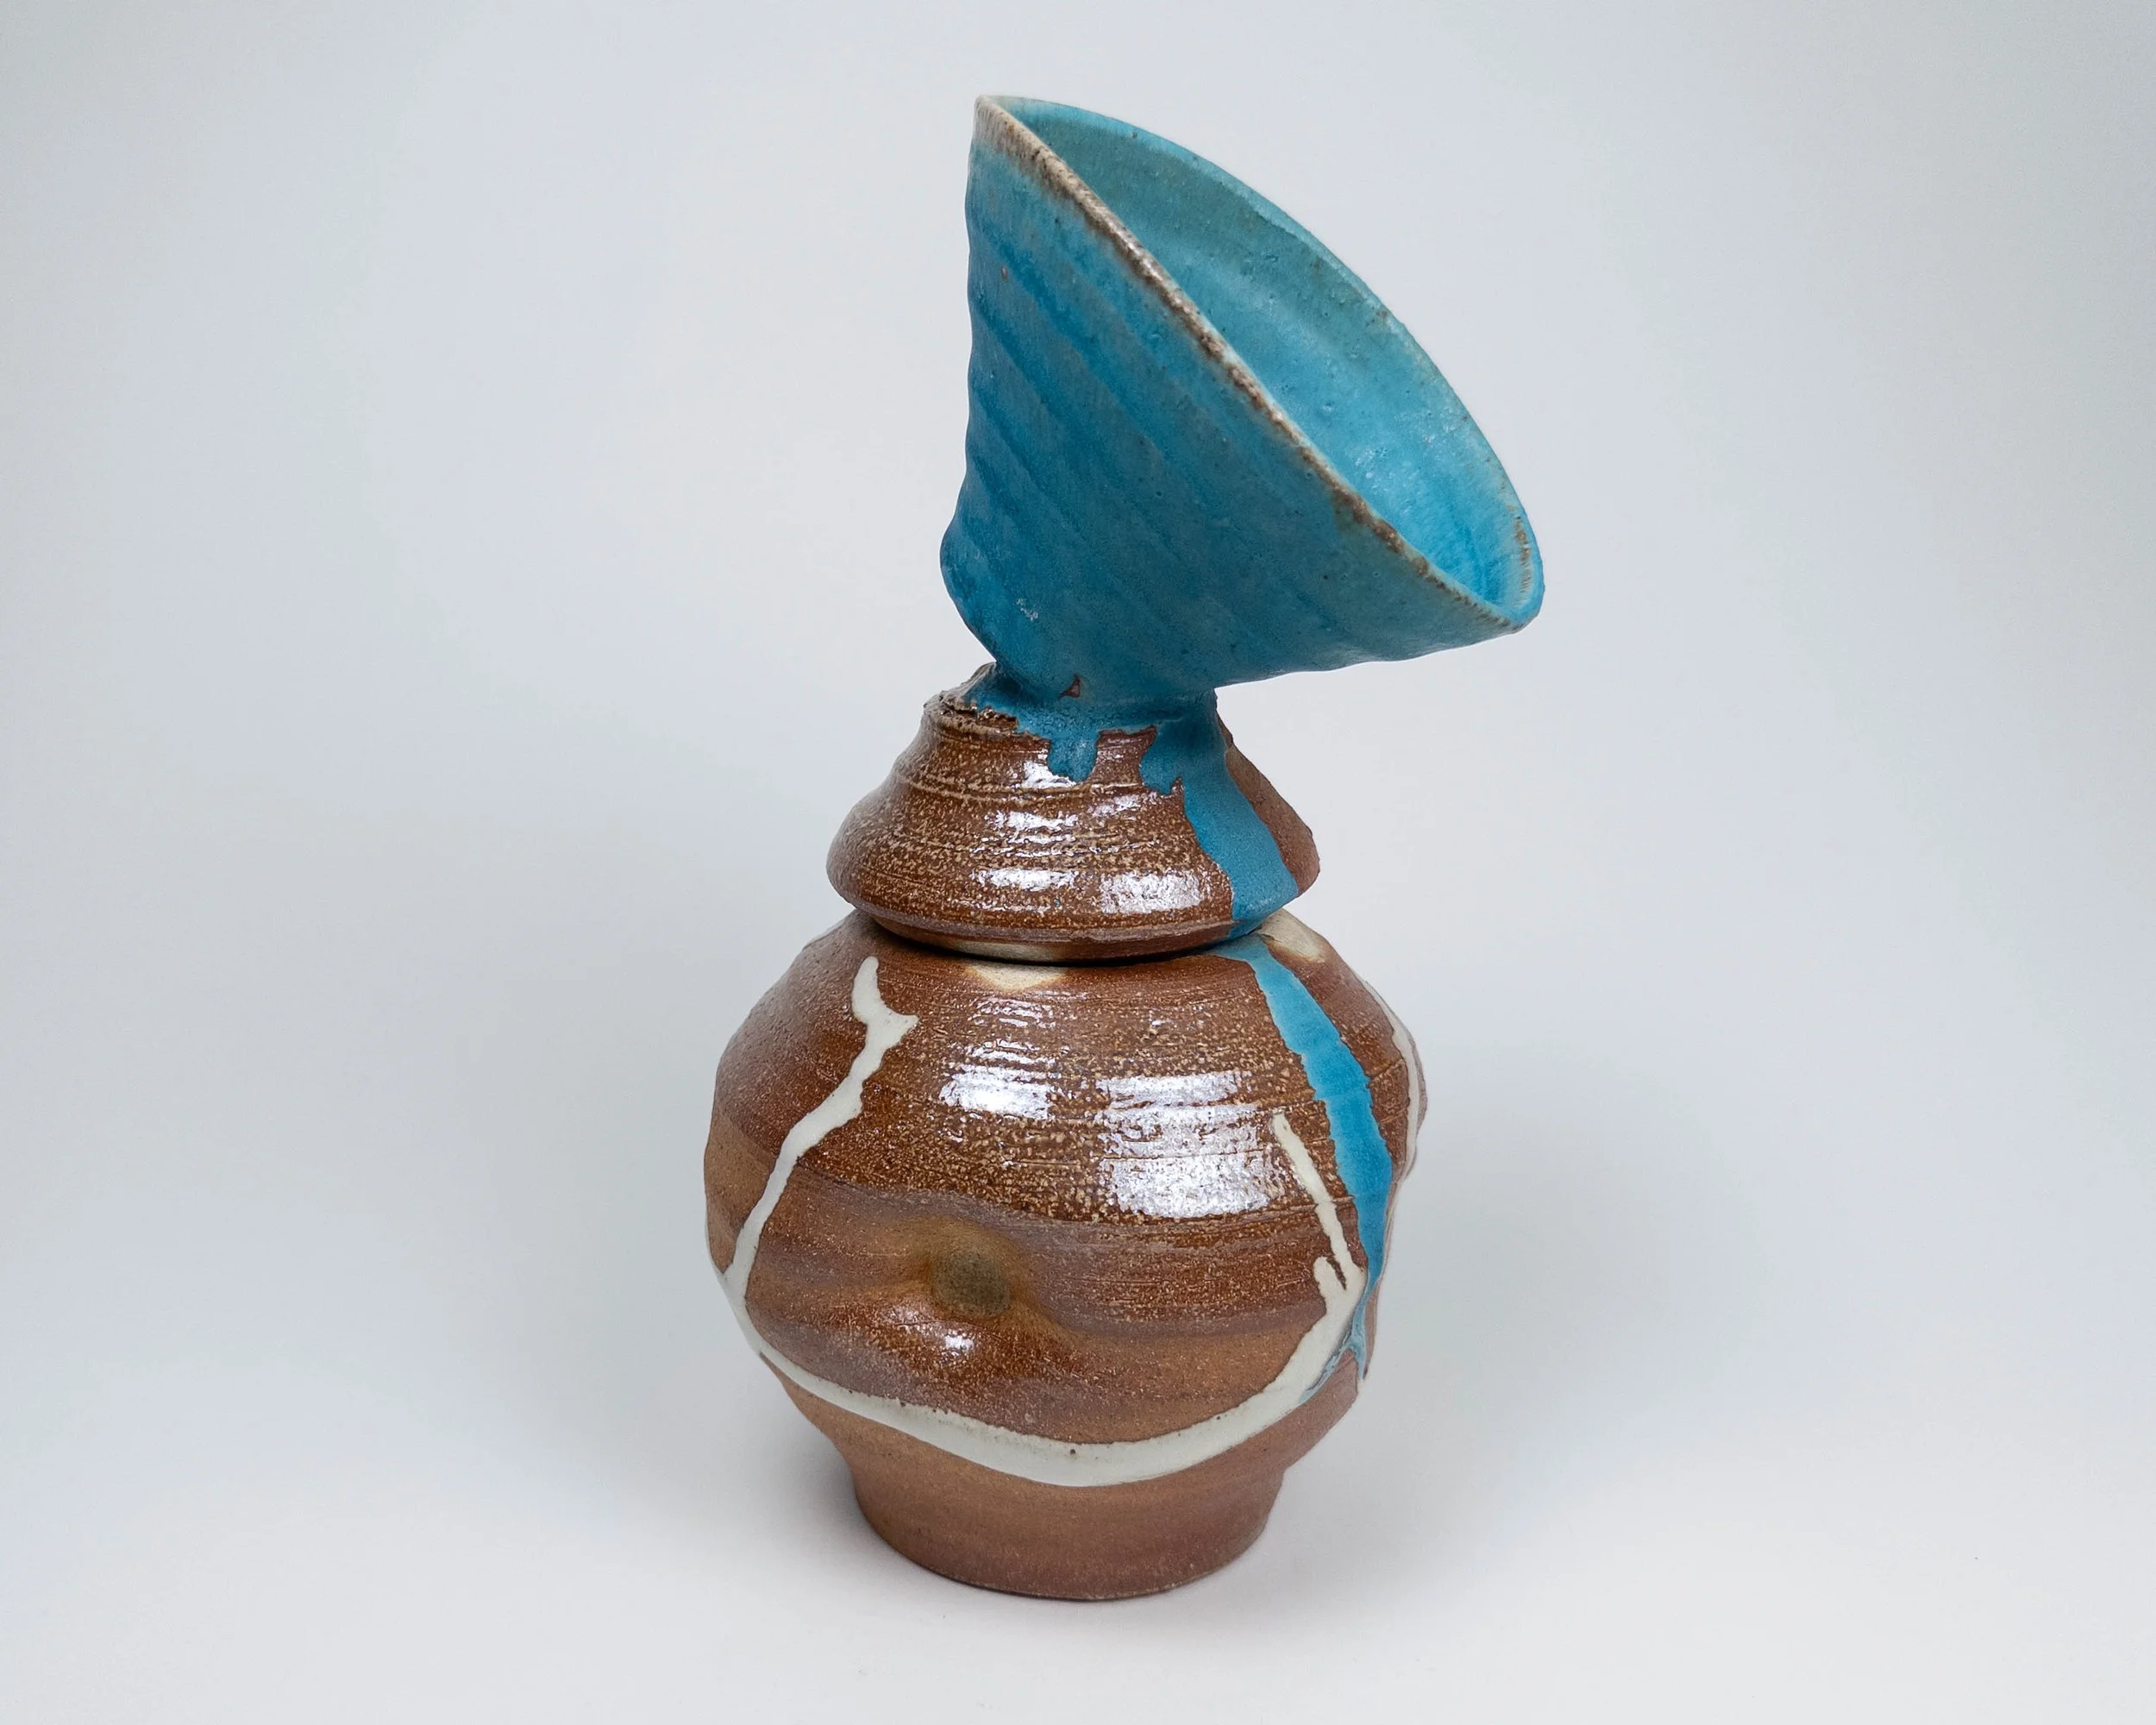
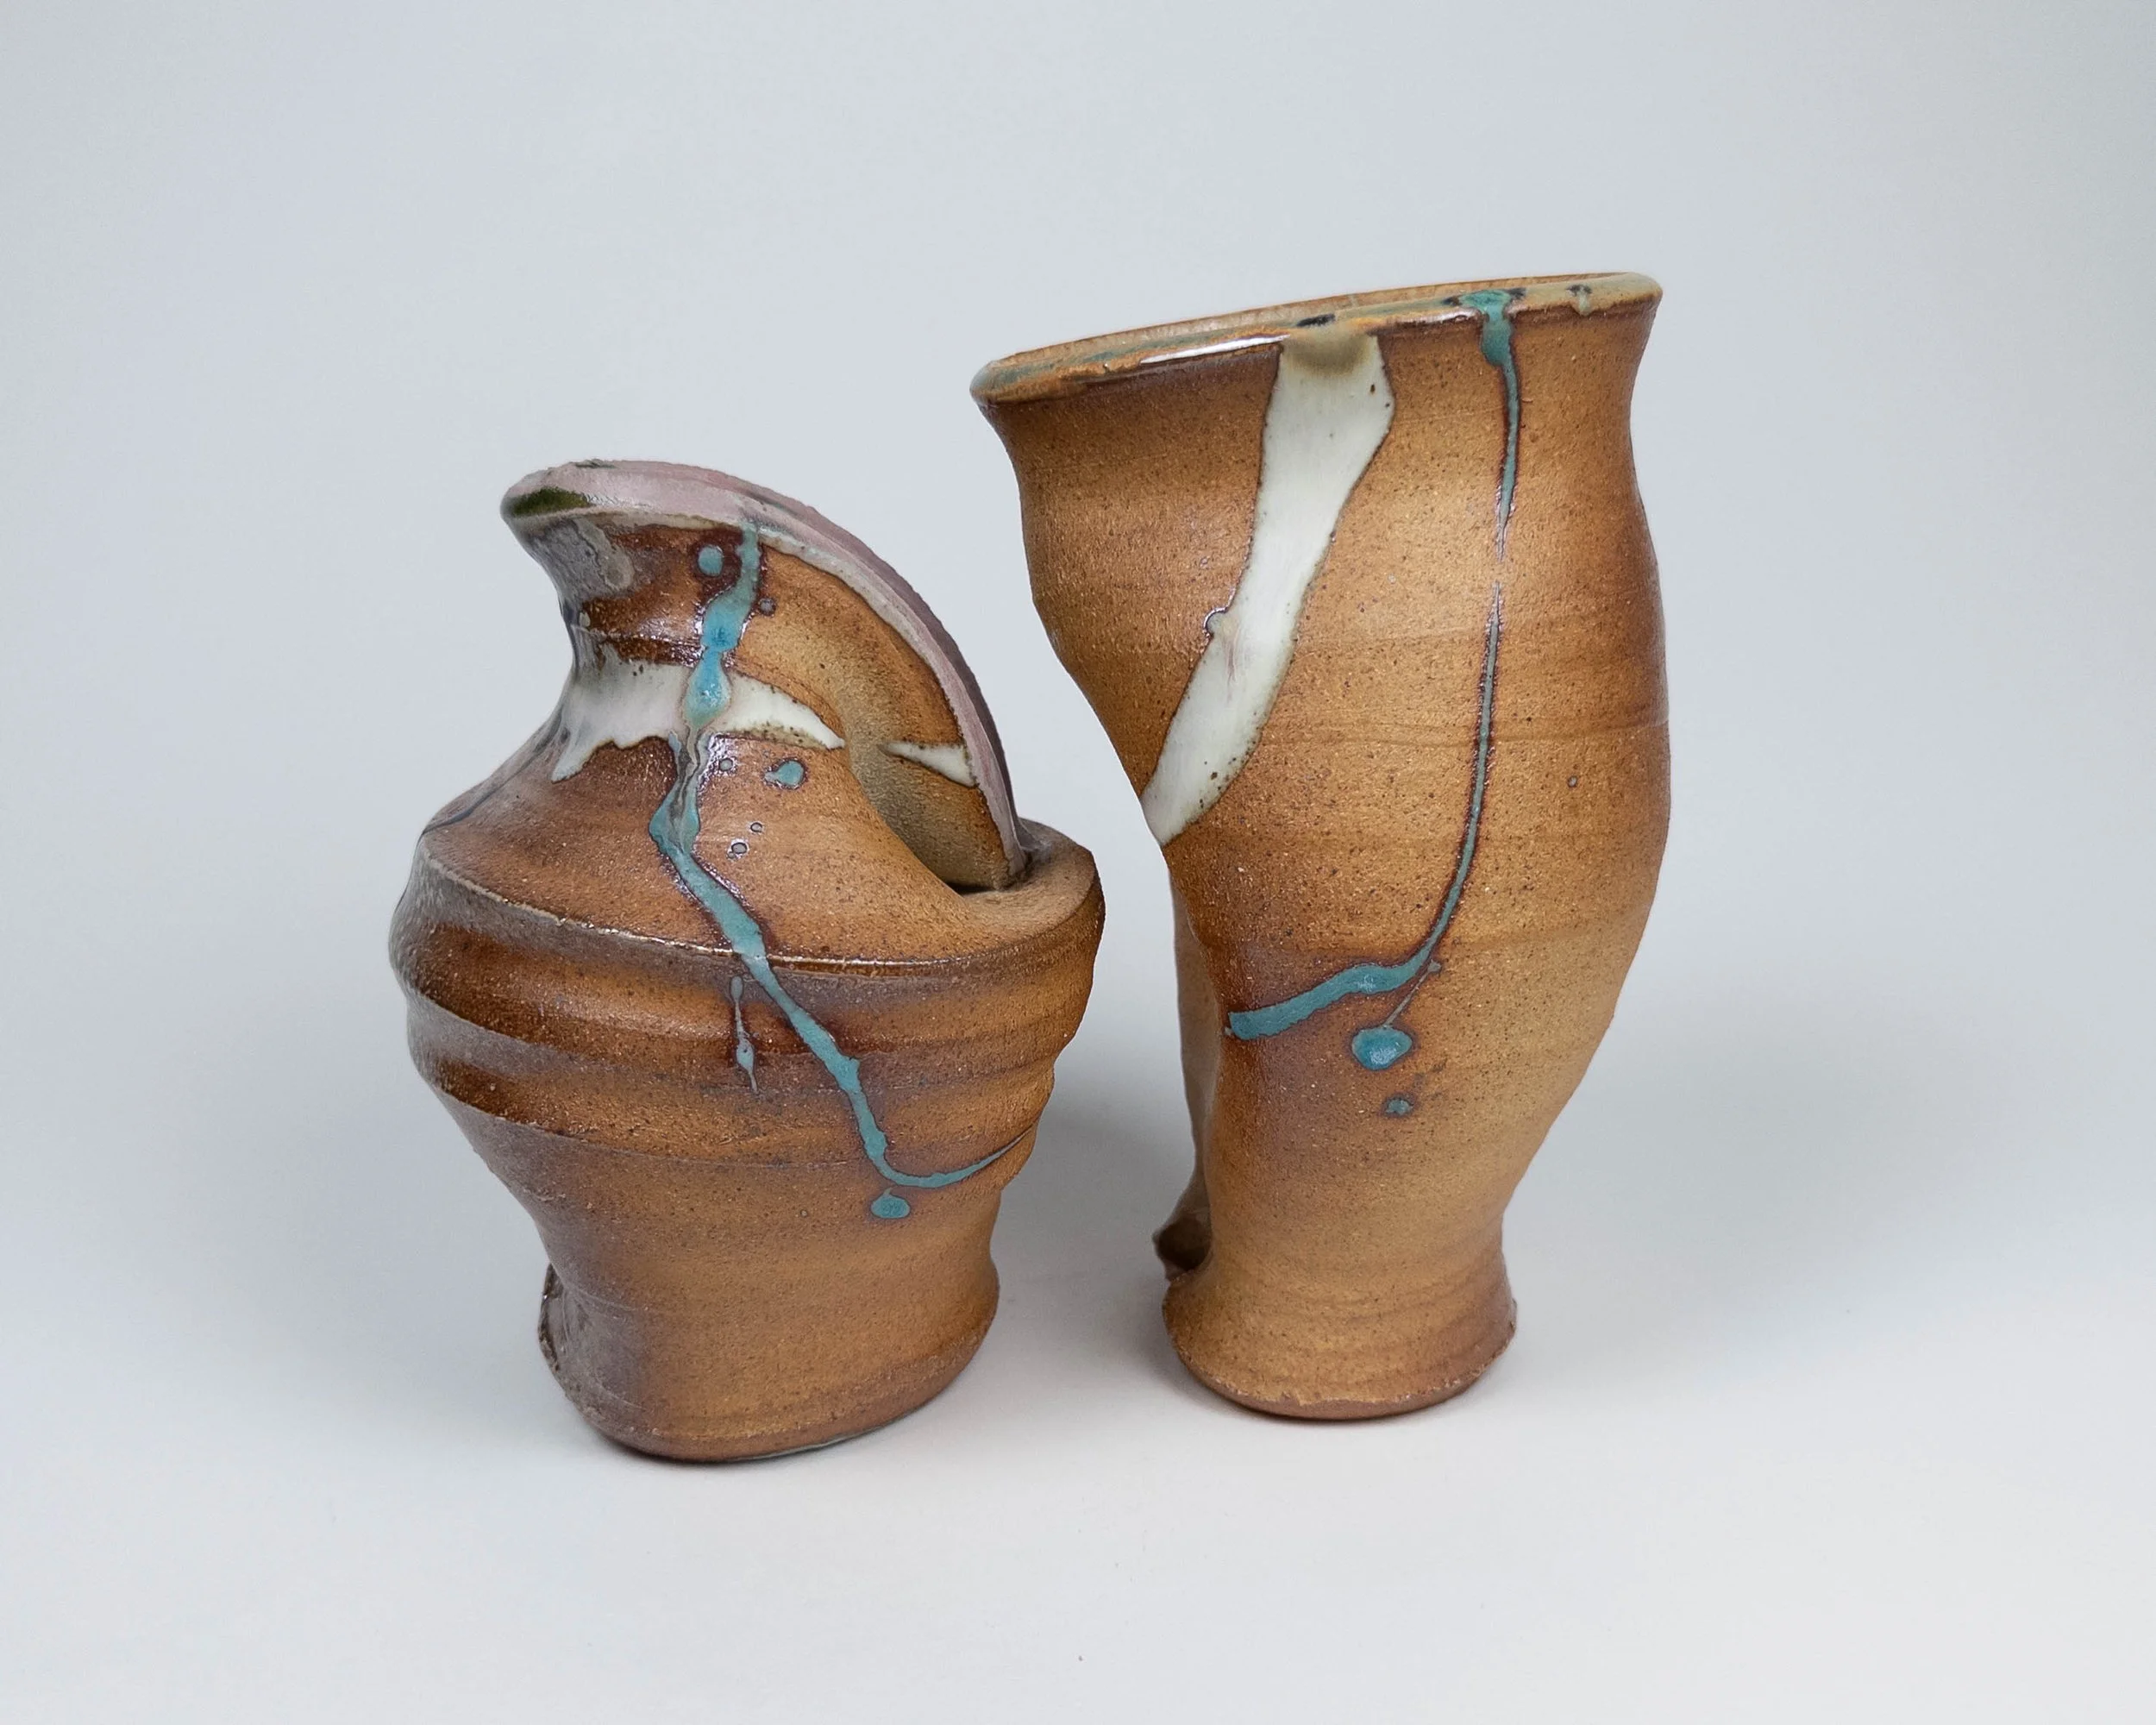
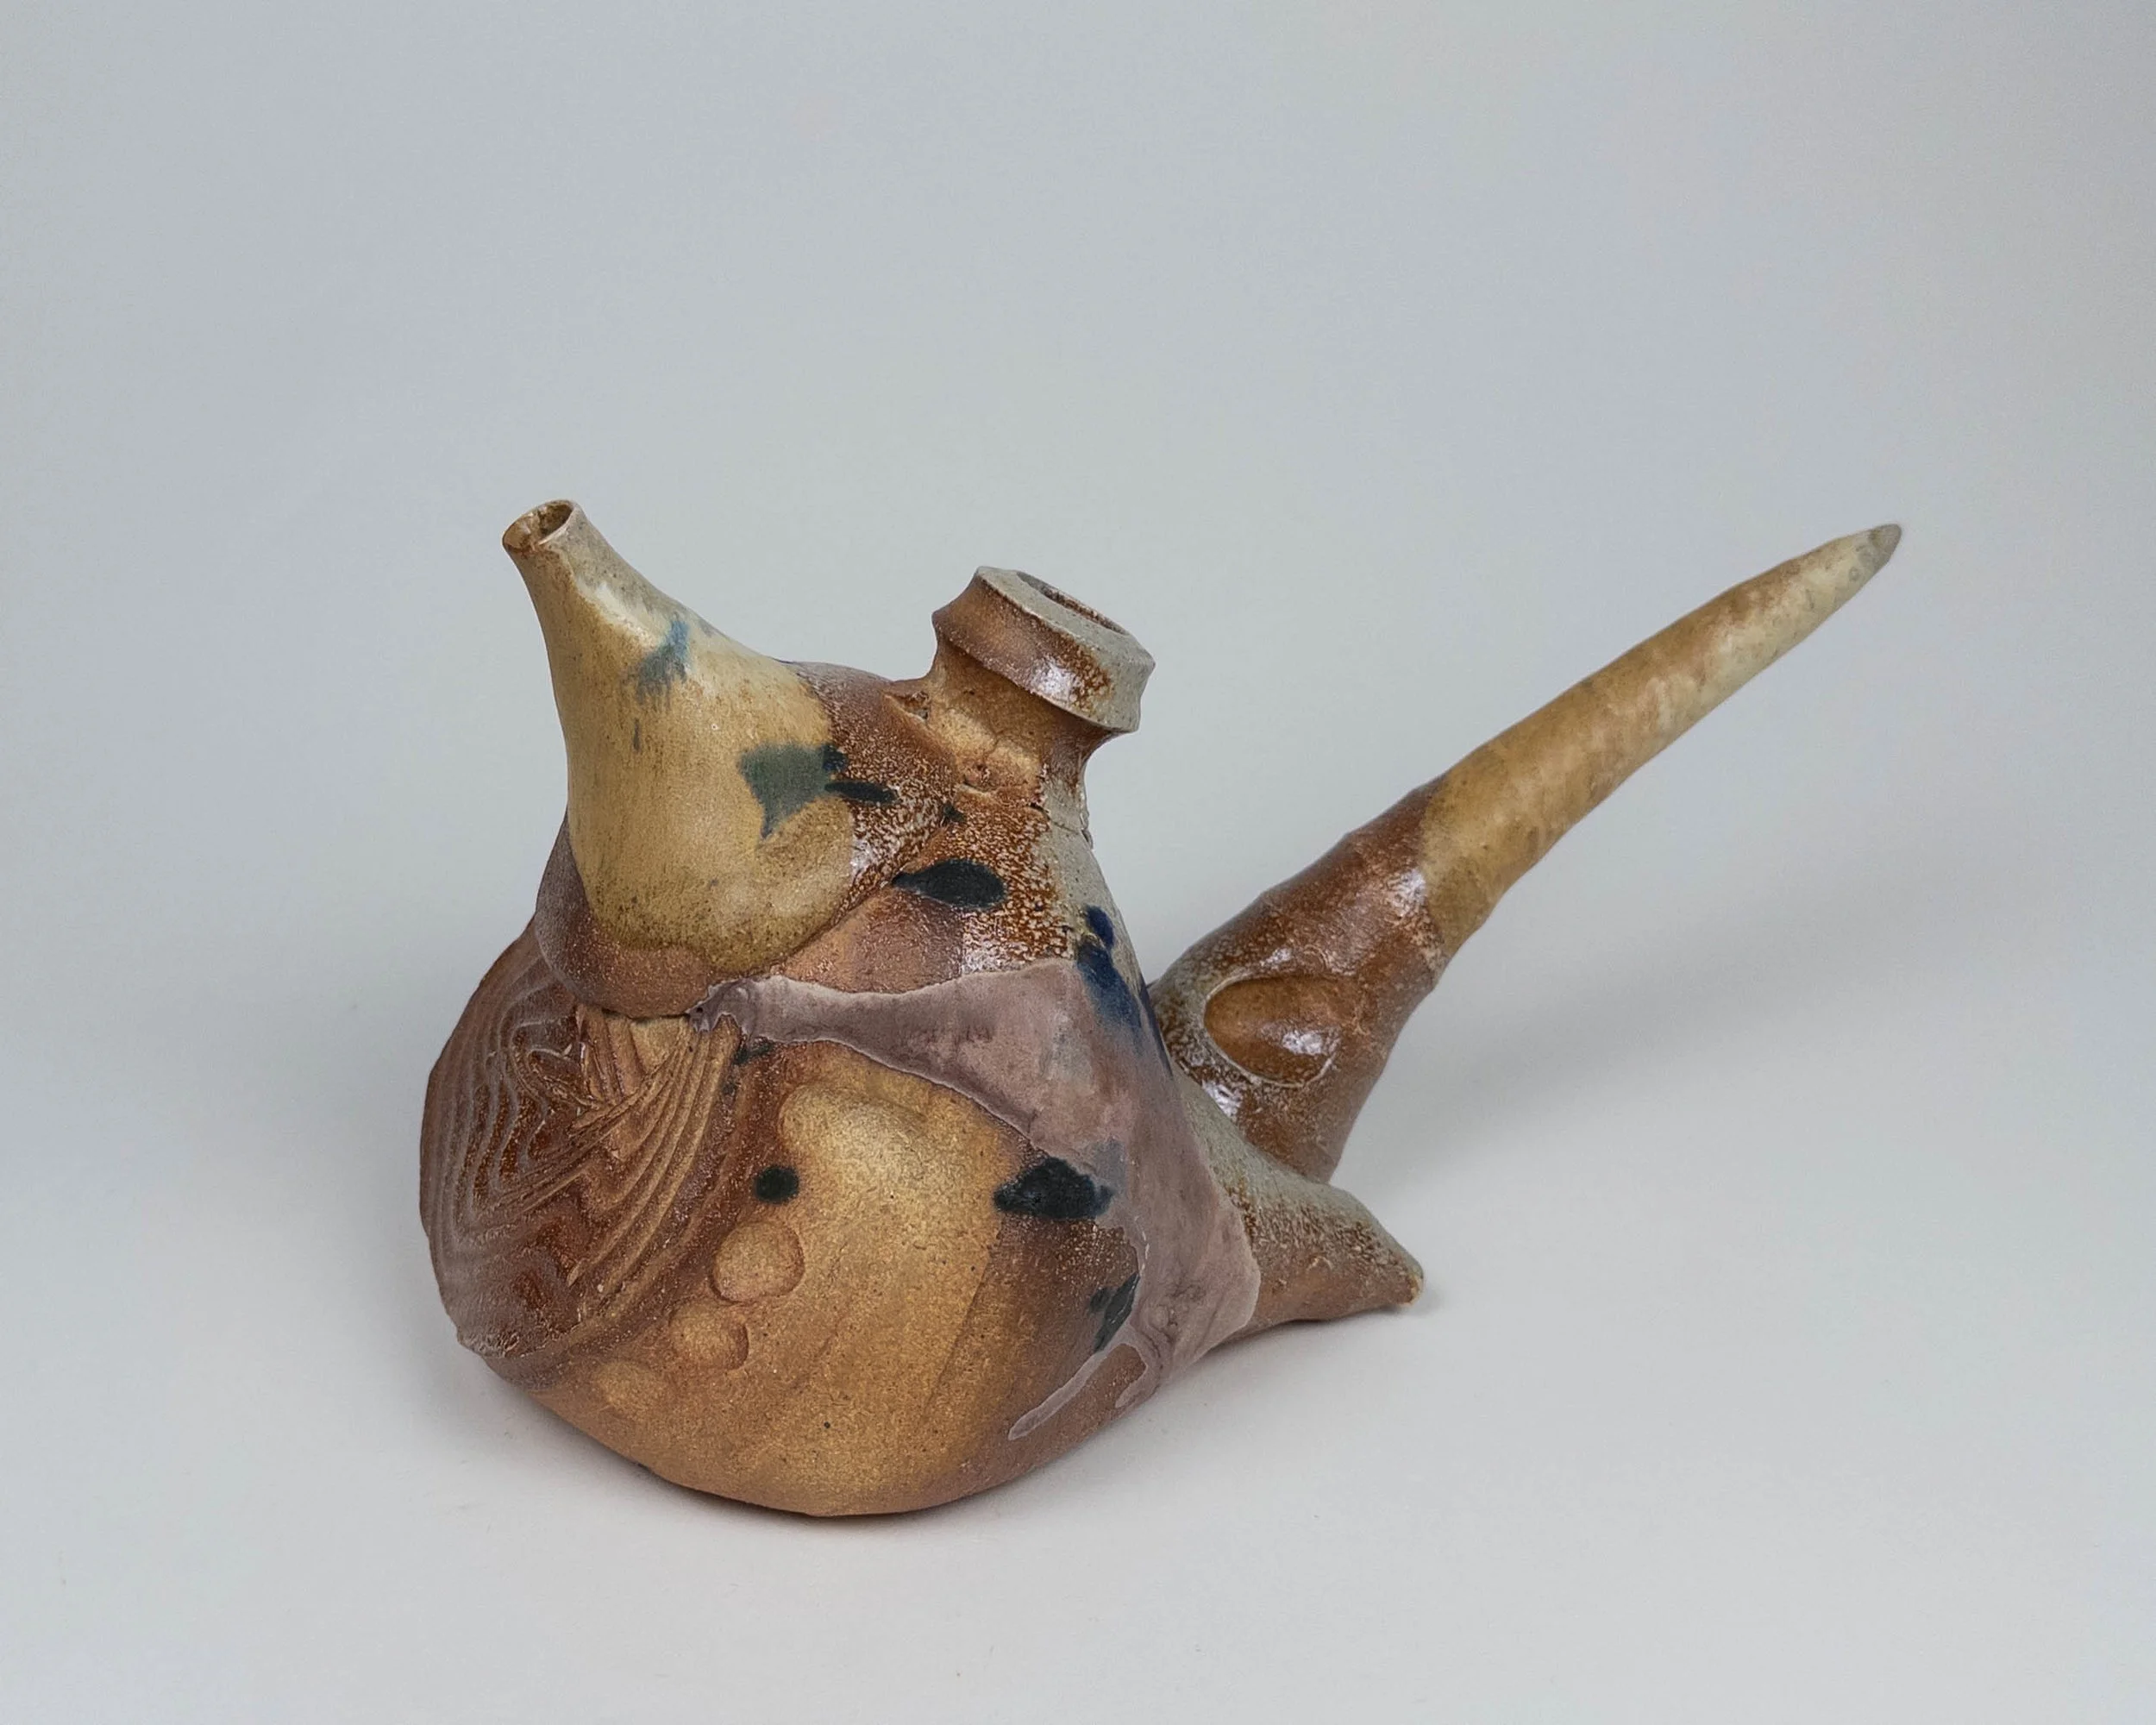
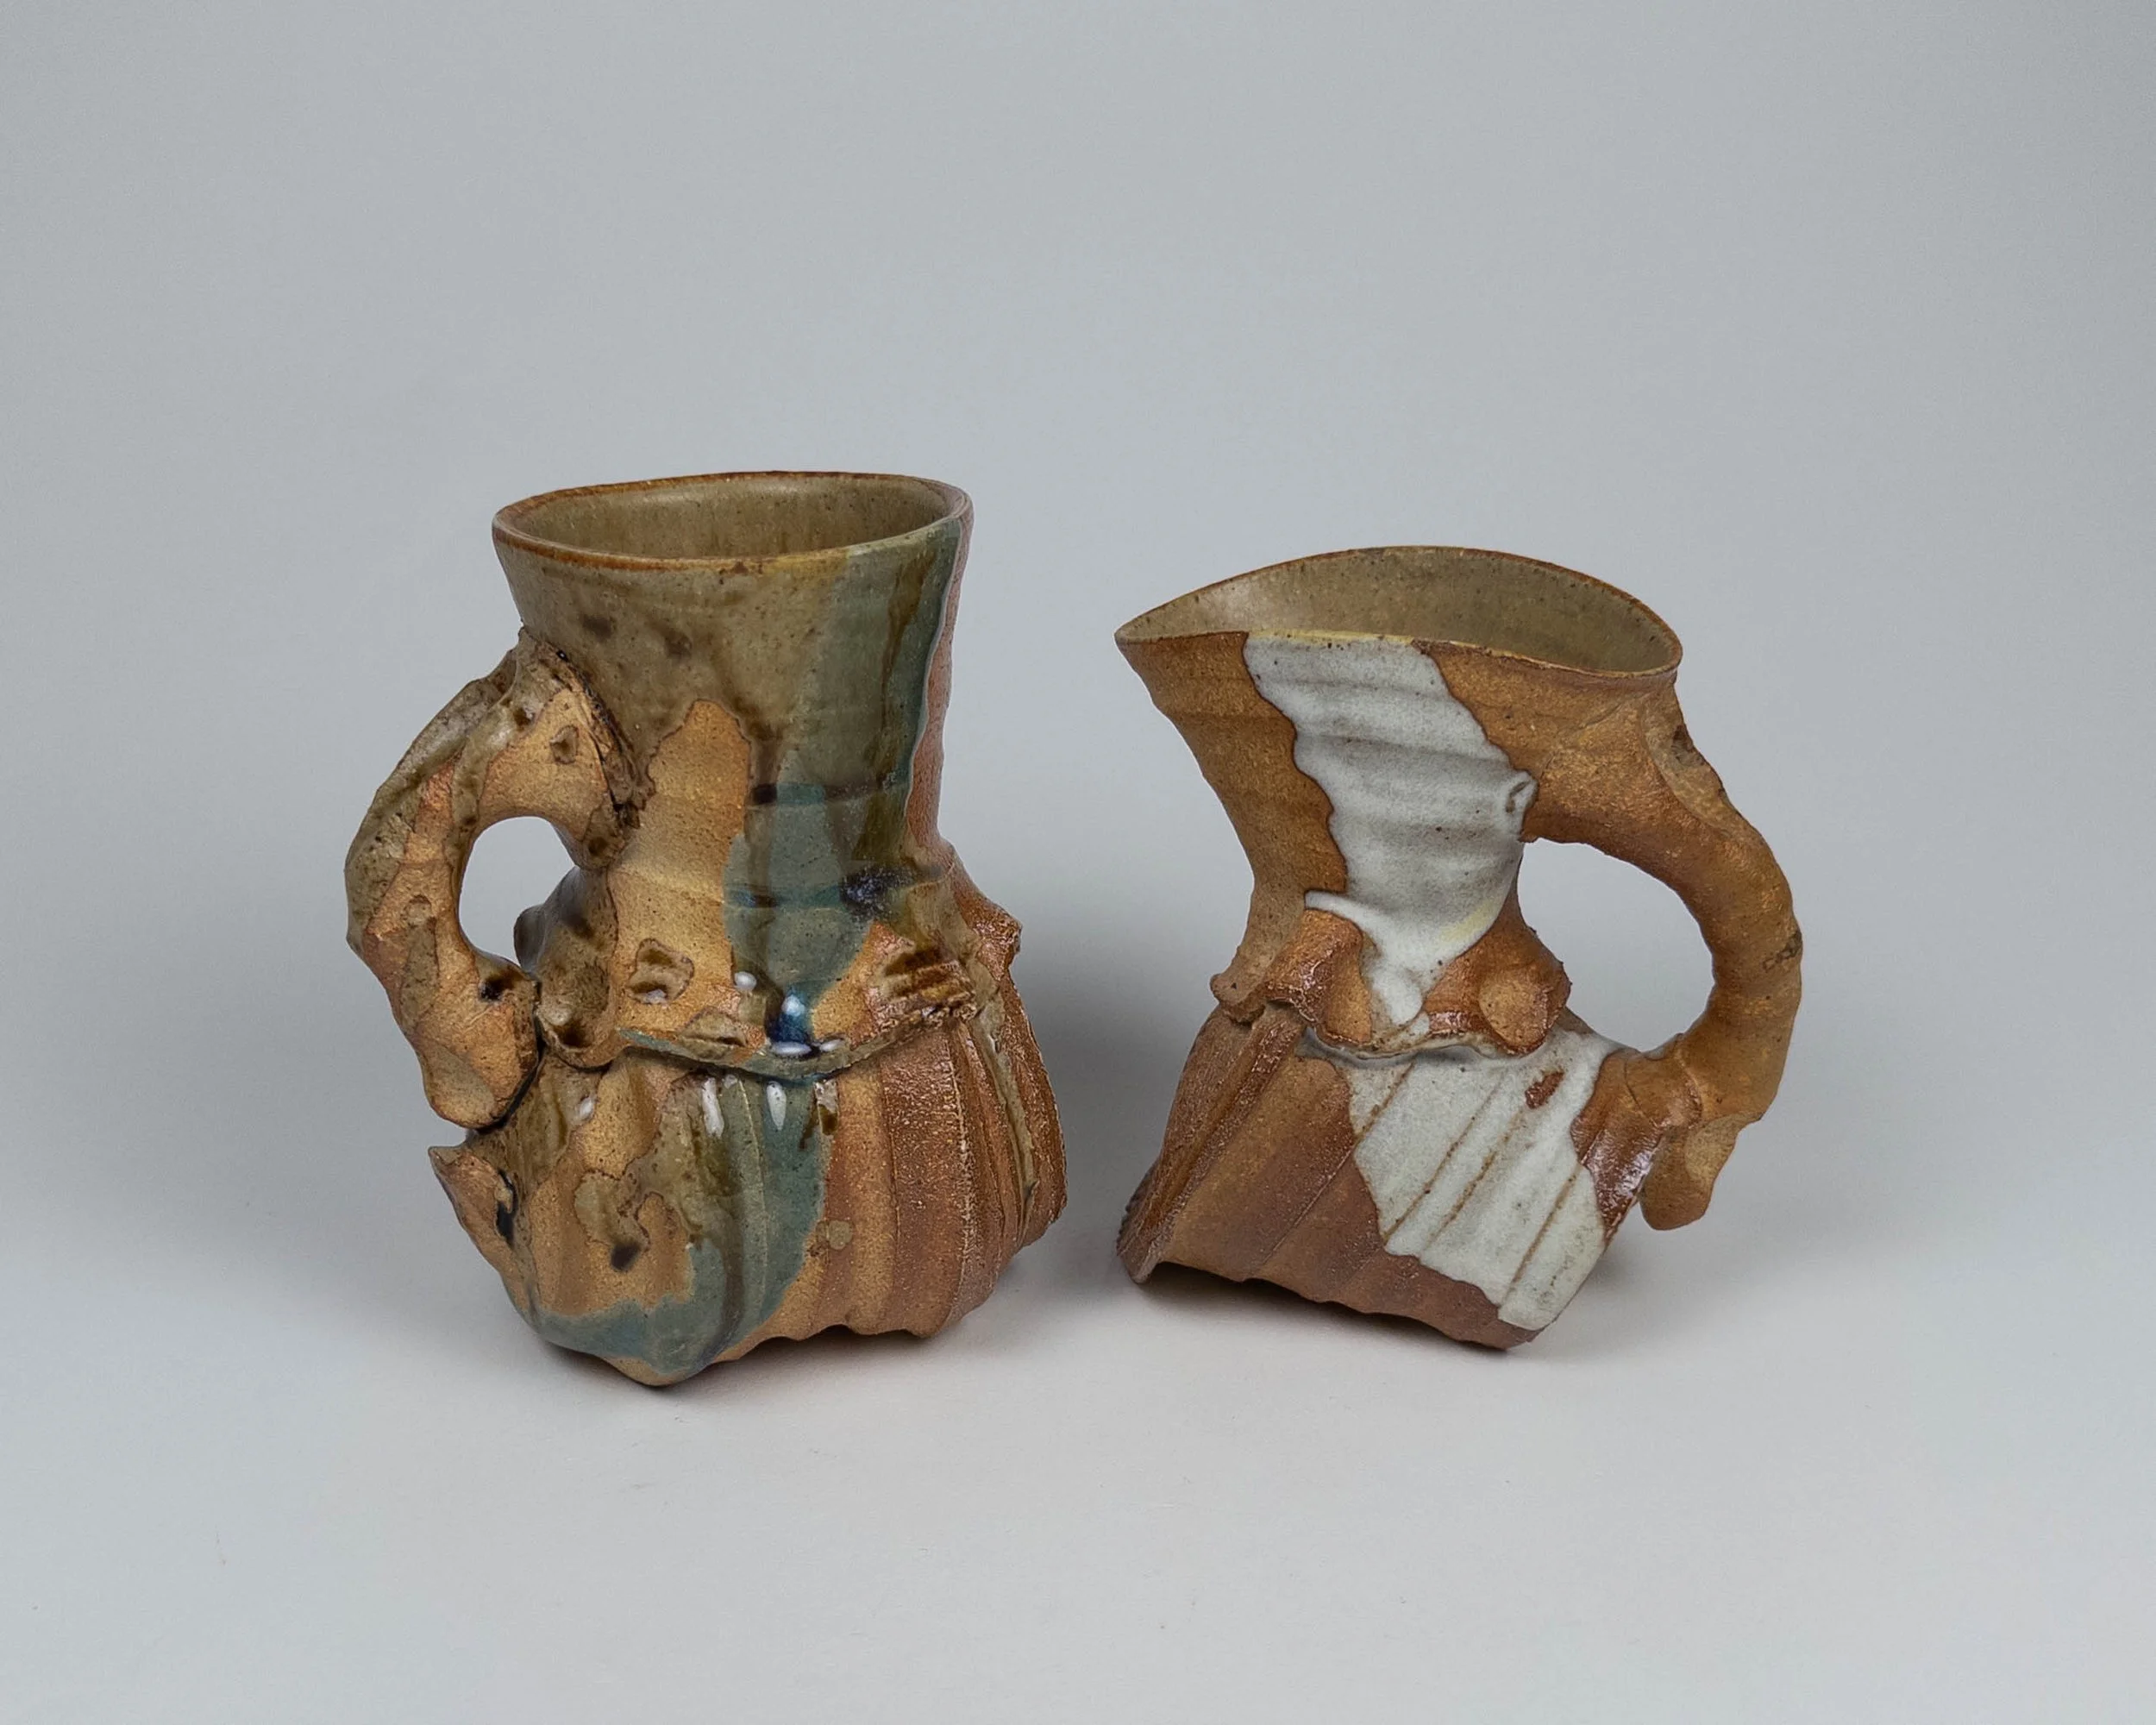
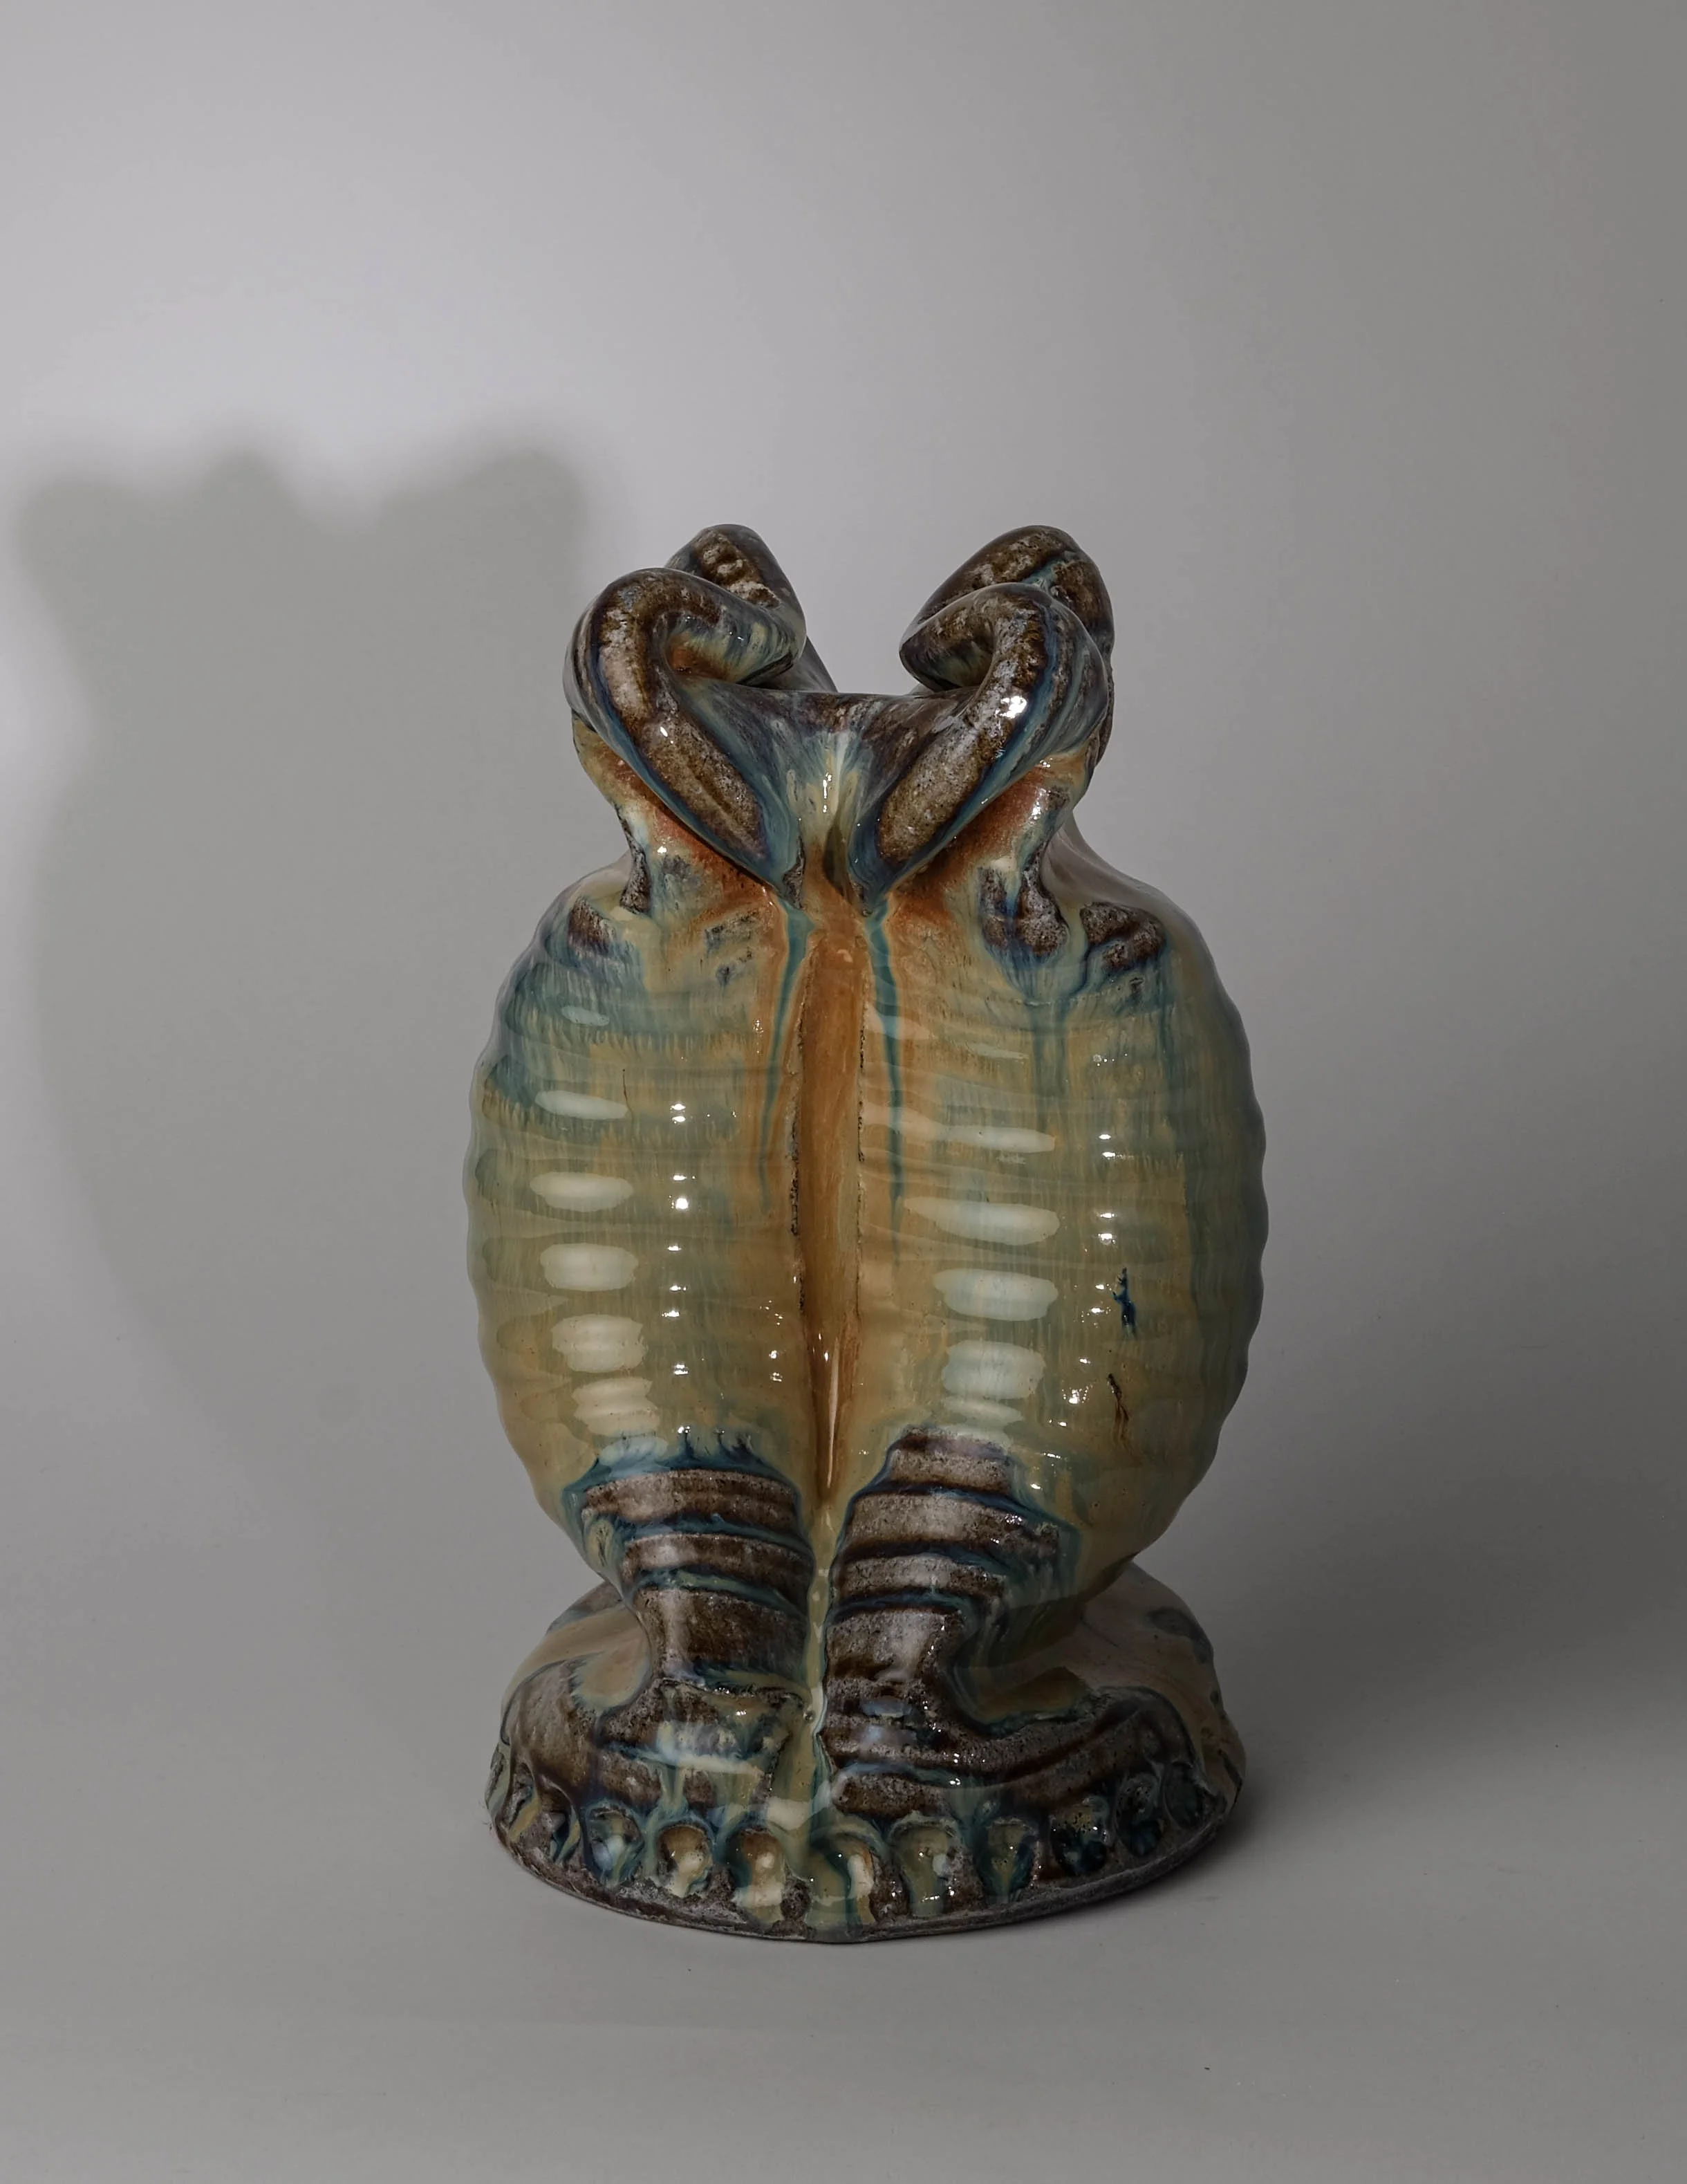
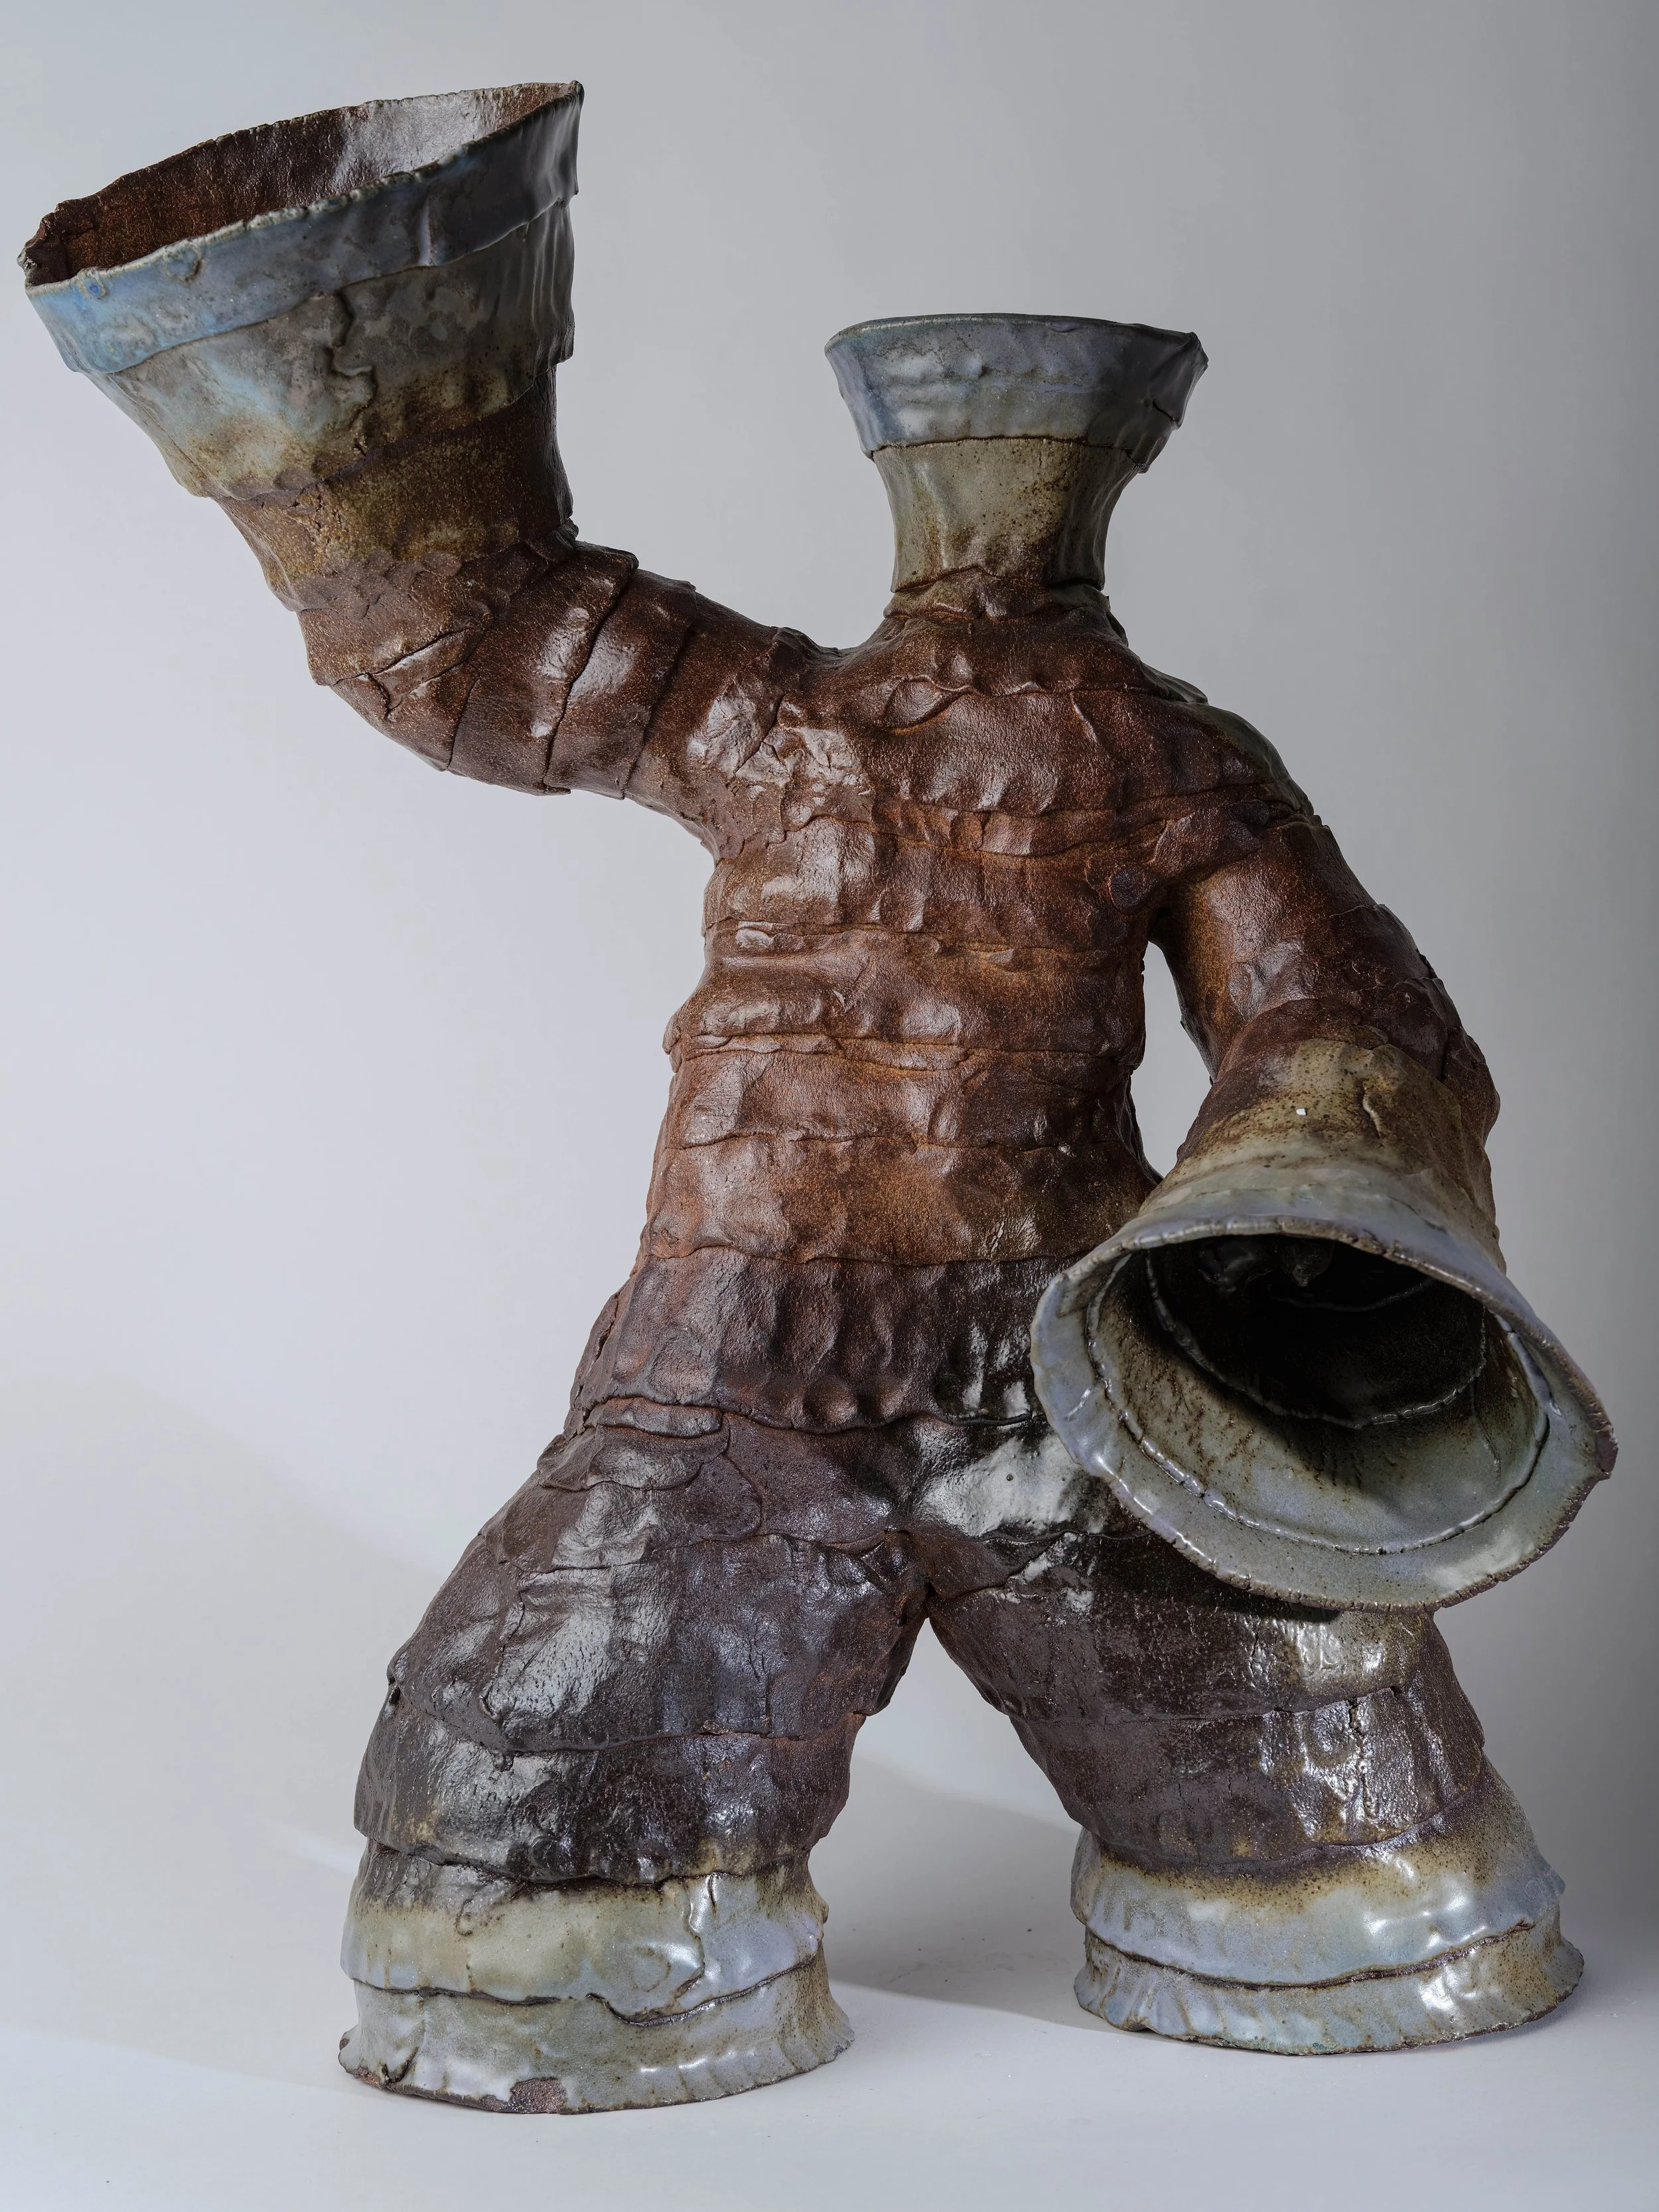
My work is functional pottery that stretches the thread between practicality and sculpture through the use of fat throwing lines and flaccid alterations. I feel that my work is like any other midwestern potters’. As it’s a synthesized version of all the people before me combining the aspects and techniques that I am drawn to, which I have then refined down in my own way. As I like so many others, touch clay so individually. For my own work I am always in constant pursuit of discomfort and inconsistency as these principles drive me and my work forward in an endless search for improvement. Along with the intention of being provocative as I want to trigger thought in others. I see it as a way of helping people think… perhaps a little differently.

Description of
process
Making pottery isn't as simple as it may seem. Throwing pots is only a small fraction of the process, and it doesn't even start there. It begins with the raw materials. First they must be ordered, once on hand I’ll mix a large batch of clay, which is about 150 lbs. This process is crucial as the moisture content has to be just right. Next the clay must be bagged up and stored for two weeks minimum so that it can age and become more plastic.
I then take time to develop an idea for what I want to make and how much of it. After establishing an idea I get to wedging and hop on the wheel to throw and execute whatever it may be that I'm making for that session. Then the work sits for another two weeks to slowly dry out and then get loaded into a bisque firing, which is the first of two. This one is meant to burn off the organics and get the work ready for glazing, and the glazing is done with multiple techniques because it's not as simple as dipping the pot into a singular glaze.
Next is preparing the wadding which is placed on the base of the pots so that they don't stick to the kiln shelves after the firing. Once the pottery is prepped and loaded into the kiln the gas can be turned on and lit overnight. This is done to gradually increase the temp overnight into the next day when the ports get fully opened. The second firing uses gas to reach 2300 degrees, and this takes about 12 to 16 hours. Towards the end of the firing is when I implement baking soda this is done by creating a solution and spraying it onto the pots, which adds an atmospheric look. After the firing it takes a couple days to cool for it to then be unloaded.
At this point the pots are finished, but the work is not as the kiln must be cleaned and the pots must be sanded and priced. On the back end of the process I then catalog my work for gallery, residency, and grant applications. This is also done for shop updates and such too. Whatever pots I have left I then pack up and use for in person sales so that I can share my creations for the world.
